Talos II
~/ ../
About
There are many reasons to consider such a workstation. Simply put, the goal of the Talos II is to place as much control in the hands of the system owner as possible.
The owner is given the electrical schematics, system firmware is open source, and the system can boot without any binary BLOBs. Even the OpenPOWER instruction set architecture is open.
There are no comparable x86, ARM, or RISC-V options. The Intel Management Engine and AMD Platform Security Processor cannot be removed or fully disabled. ARM is going through its own gradual lockdown. RISC-V does not provide adequate performance.
If you value security and freedom, I encourage you to learn more about the Talos II and Blackbird systems.
Videos
- Linus Tech Tips - An Open Source Motherboard?!
- Level1Techs - Forget x86; OpenPower is it! Talos II Secure Workstation!
- Level1Techs - POWER9 & Raptors? Oh my! - TalosII Talk & Interview w/ Raptor Computing Systems
Articles
Raptor Resources
- Raptor Computing Systems
- Raptor CS Twitter
- Raptor CS Wiki
- Platform Comparison to x86
- Firmware Source
My System
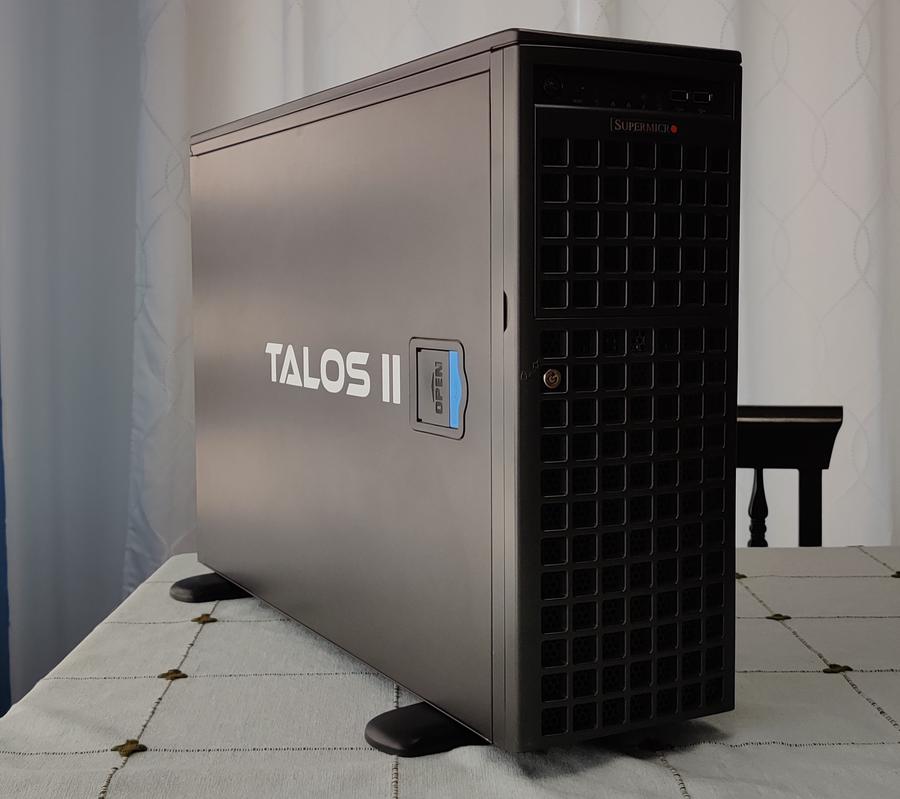
Sagan Specs (after Carl Sagan)
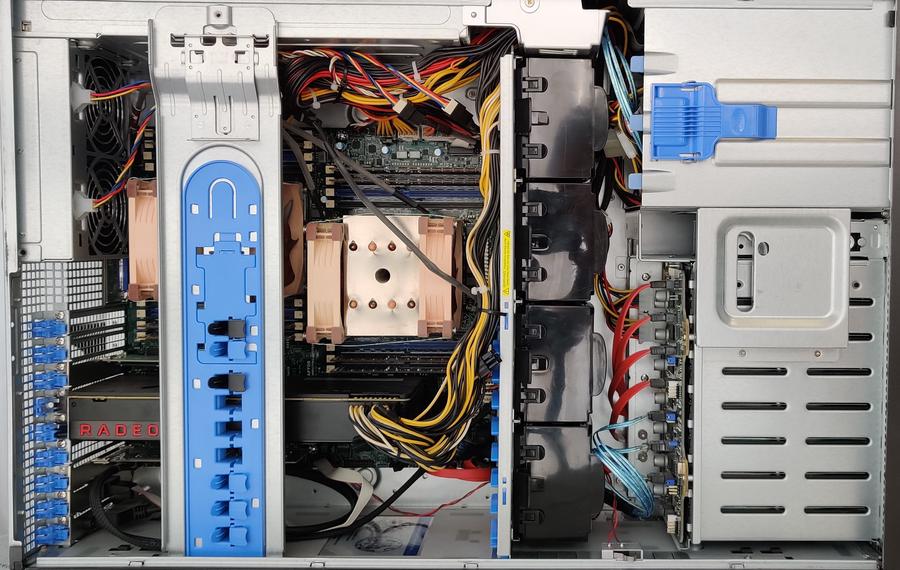
- 2x18 Core POWER9 CPU
- 4 threads per core (SMT4)
- 16x32GB RAM (Samsung M393A4K40BB1-CRC)
- SuperMicro SC747TG-R1400B-SQ Chassis
- Dual 92mm fan CPU Mod
- AMD Vega64 GPU
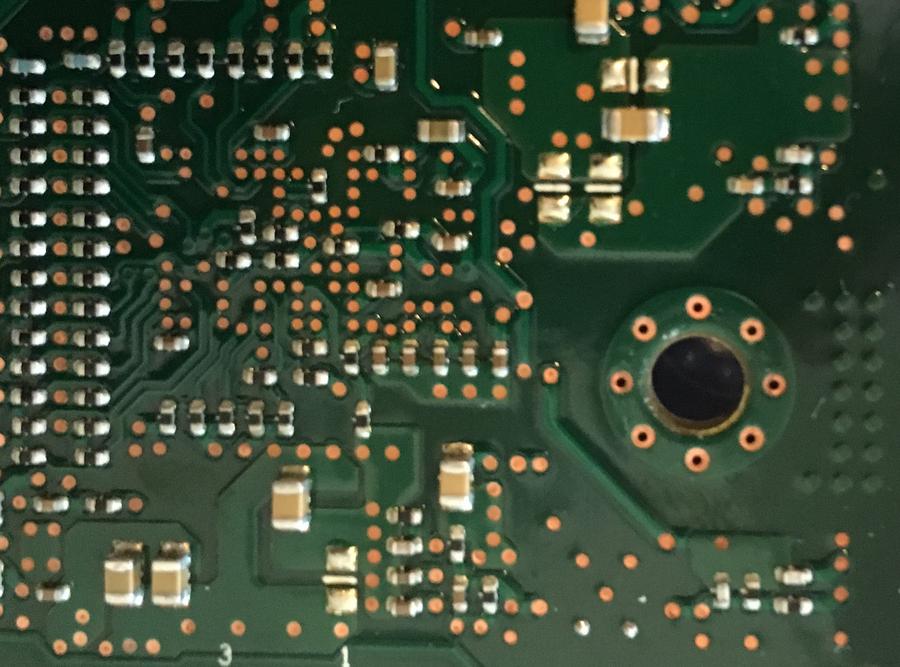
System Assembly
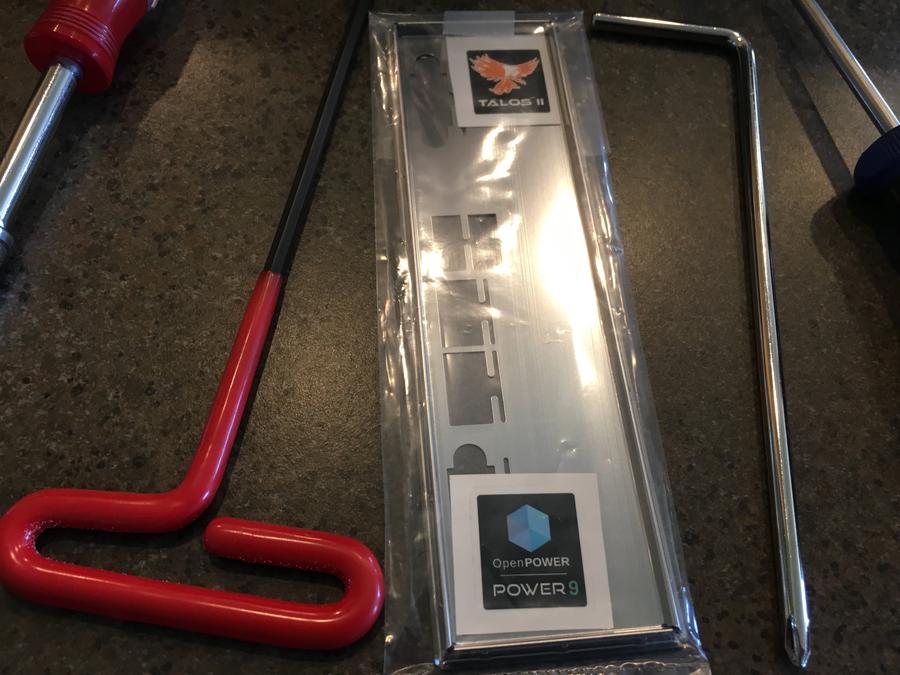
Assembly Video
During the video, I am careful to demonstrate correct stand-off placement and mainboard insertion. The underside of the board is densely populated. Some users had issues with scraping off small surface mount resistors and had to return the board for repair.
Also, I build the Debian kernel (4.17 rc3) package at the 4:15 mark.
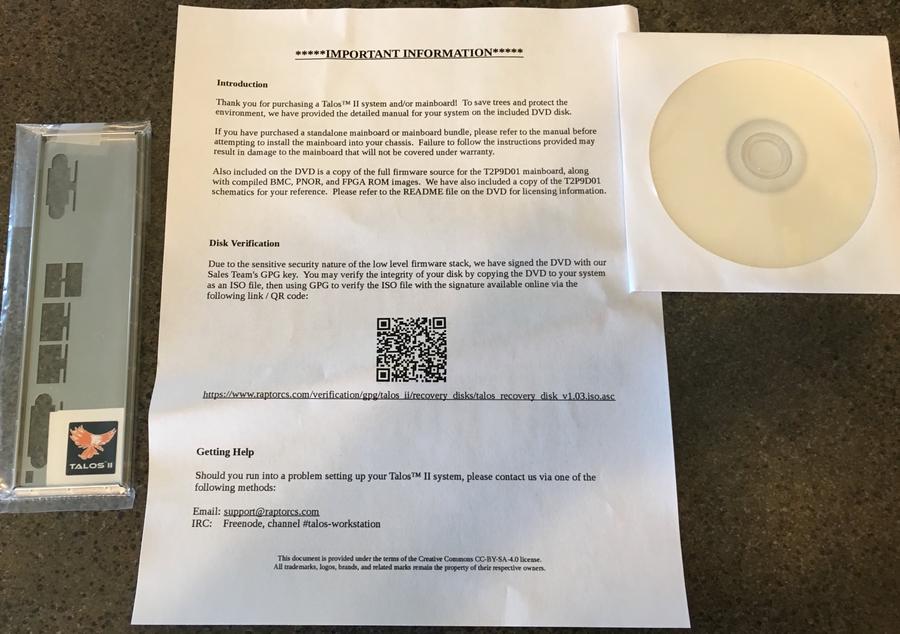
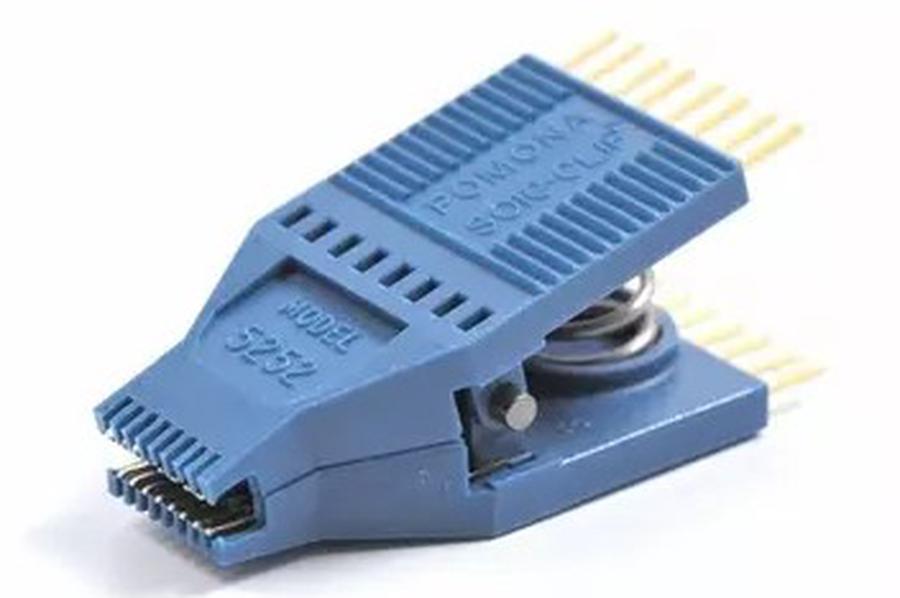
BMC and Boot Firmware EEPROM
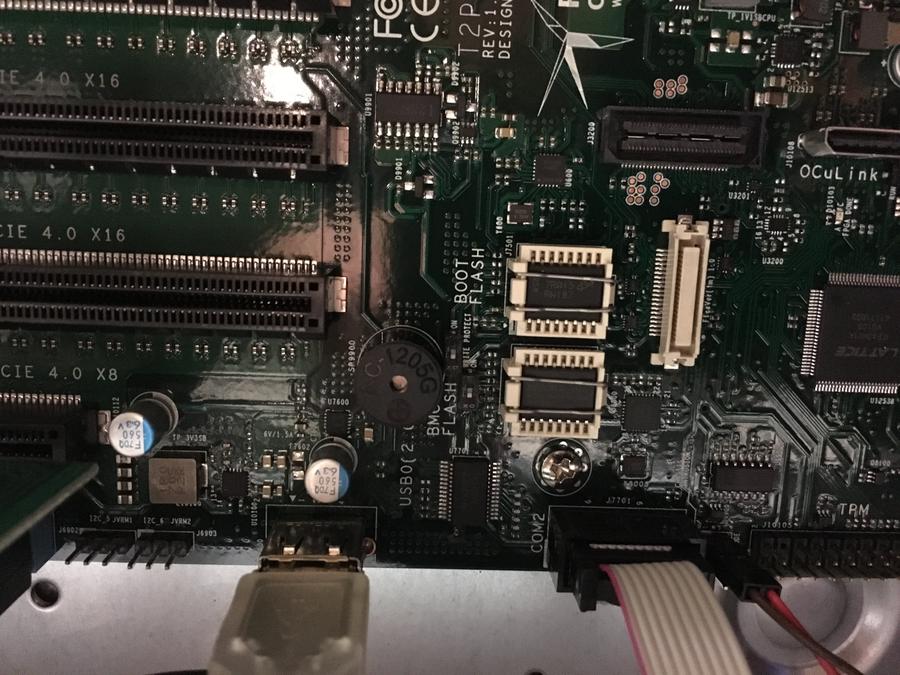
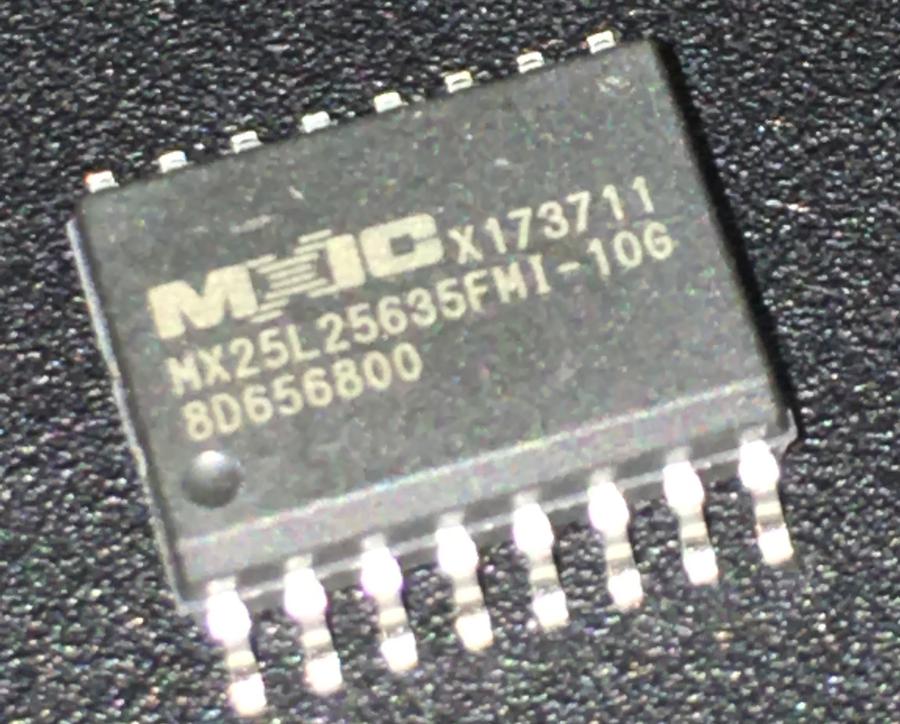
Flashing was performed using flashrom, a Pomona 5252 SOIC clip, and an original Raspbery Pi. Flashrom required patching for compatibility with the flash chip. Compiling flashrom on the Pi took ages…
Serial Header Compatibility
I discovered that I had purchased an incompatible serial header.
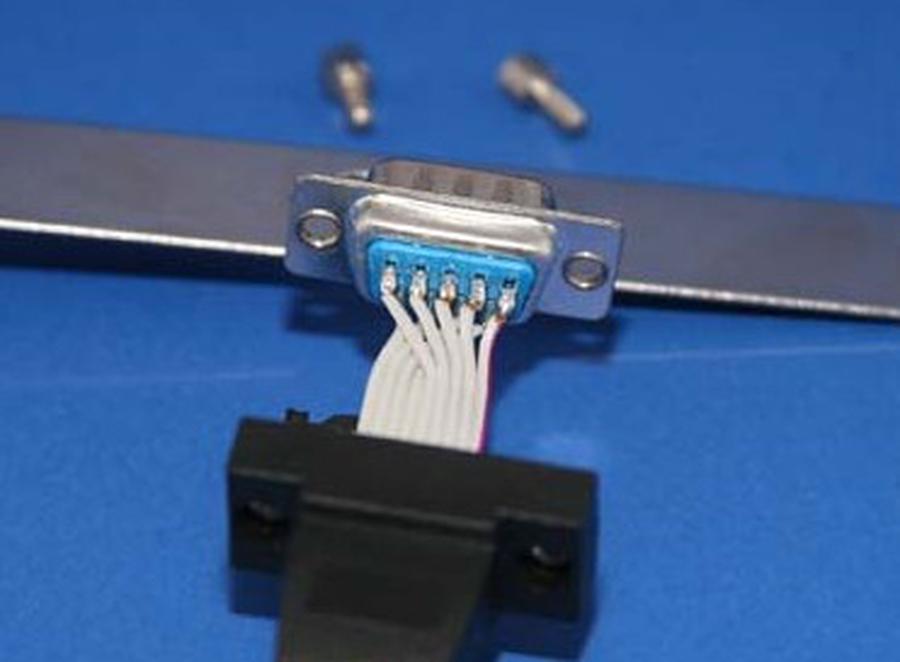
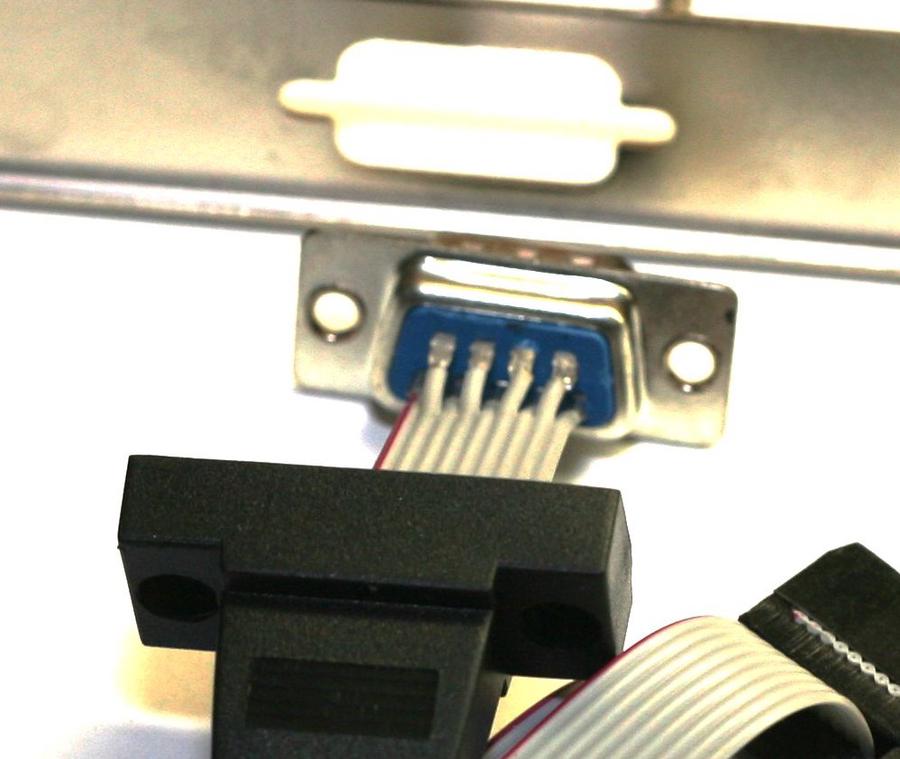
After rewiring the serial port, I was able to see output from the IPL (Initial Program Load), during power on.
RAM Issues
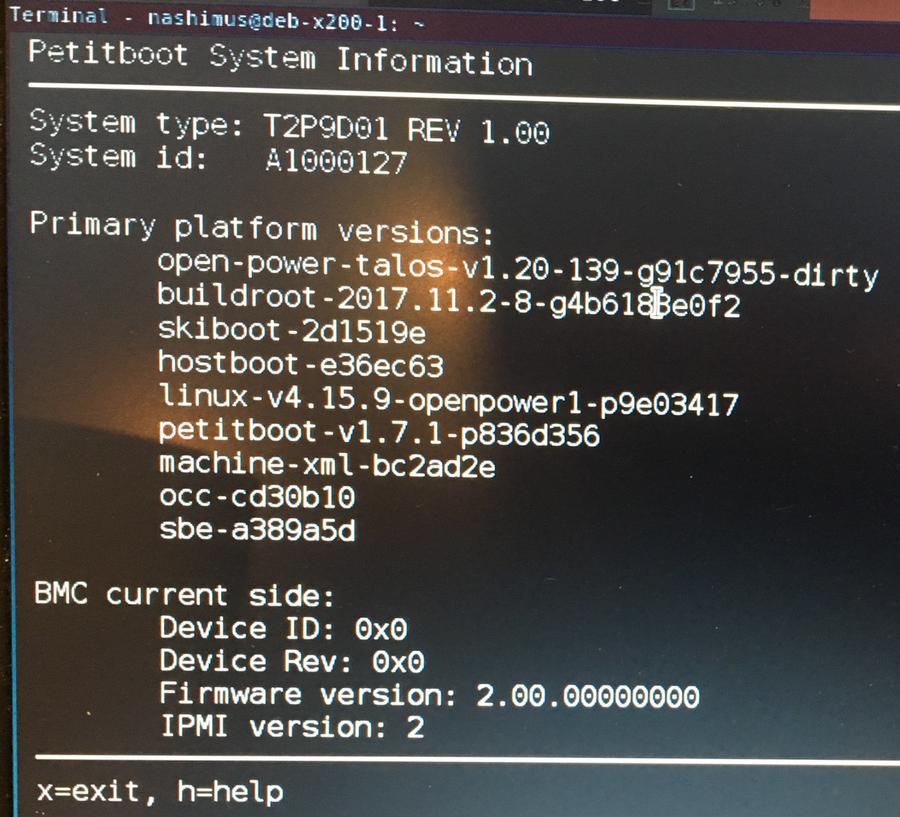
My initial system configuration was 4x32GB RAM. However, one of the sticks was bad. After removing the bad stick, I was able to make it to Petitboot! The vendor cross shipped me a replacement without question.
Debian Linux
The 4.16 or newer kernel required for proper POWER9 hardware support, was not yet available in Debian stable. I wasn’t comfortable with using Debian testing, since “security updates for testing are not managed by the security team”.
I was able to work around this by installing a minimal Debian testing net install, set apt sources to Debian stable and downgrade, keeping the 4.16 kernel. I also had to update QEMU to 2.12.0, for QEMU/KVM virtual machines to work.
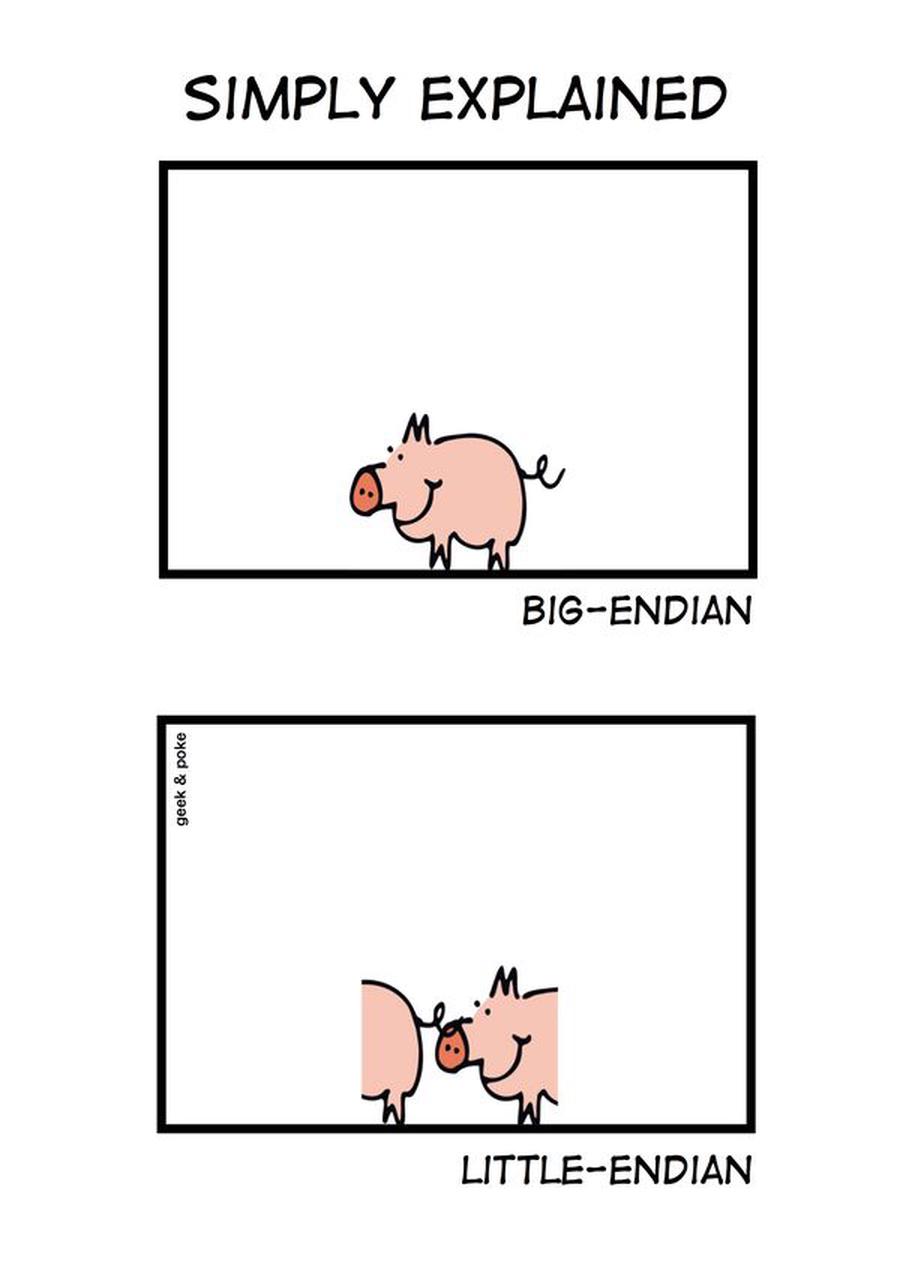
The little endian POWER PC release is ppc64el. Endian Little.
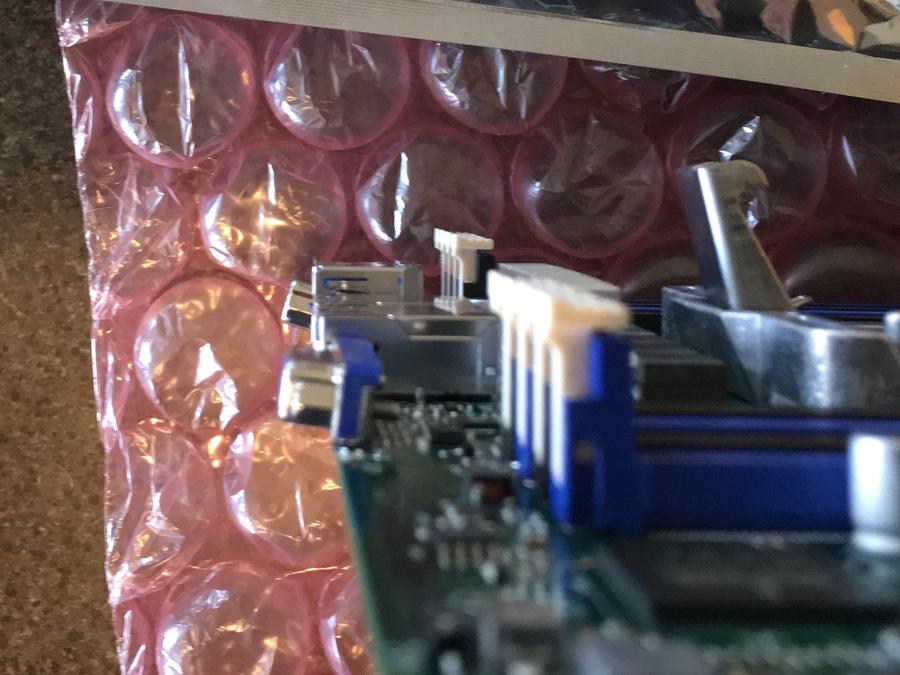
VGA Connector Issue
My 15 pin VGA connector was damaged during shipping and did not work. This was not a critical issue as I was able to monitor boot and interact with Petitboot via the serial console.
However, I still wanted to be able to use the VGA port, so I RMA’d the board. Raptor CS got it fixed and sent back.
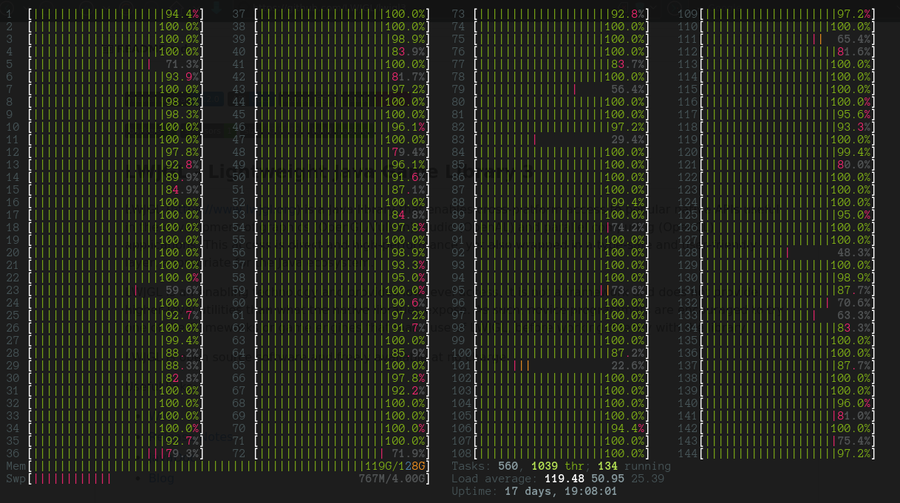
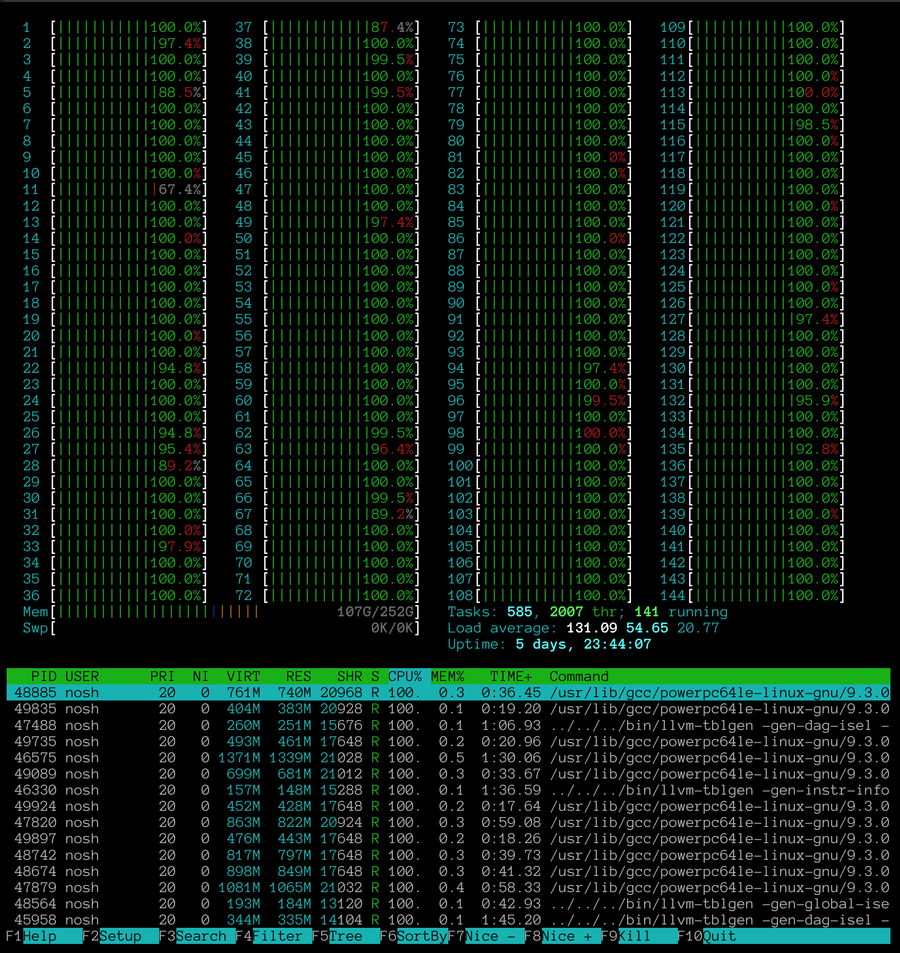
Compiling With 144 Threads!
With 4 threads per core (SMT4), this 36 core system has 144 threads.
make -j144